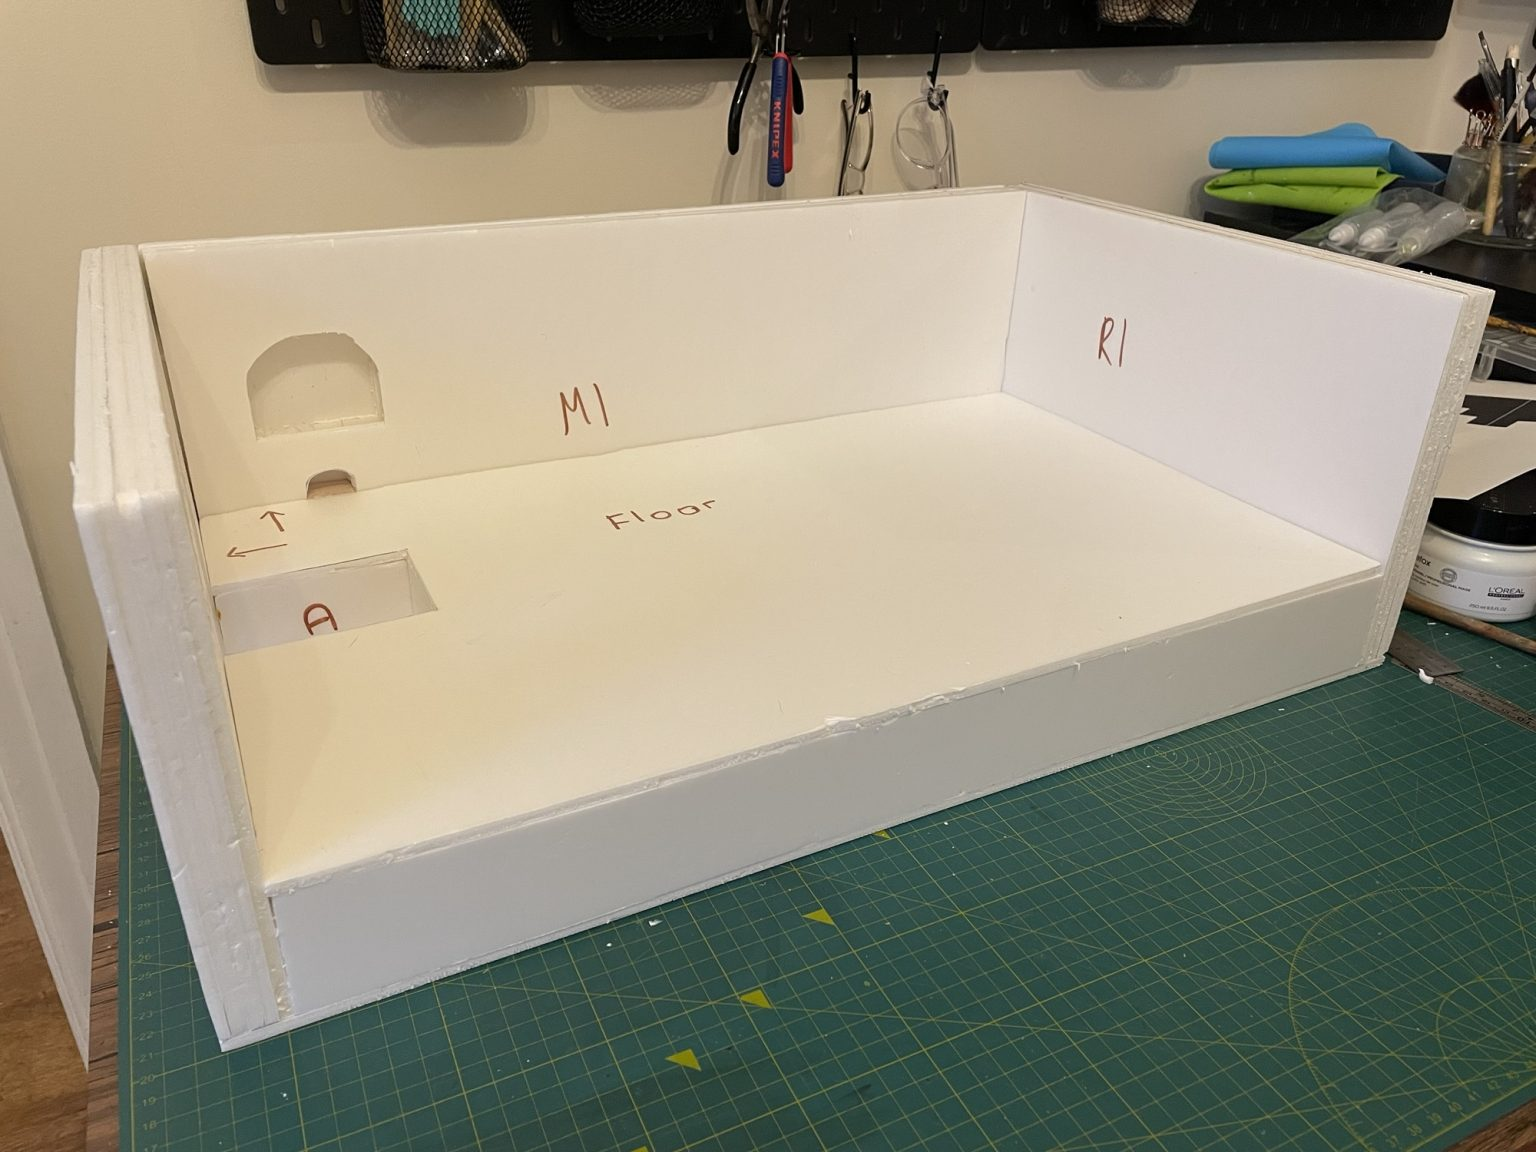
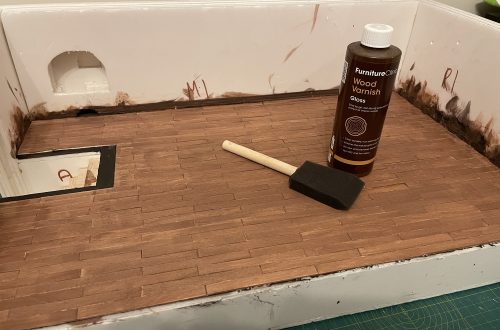
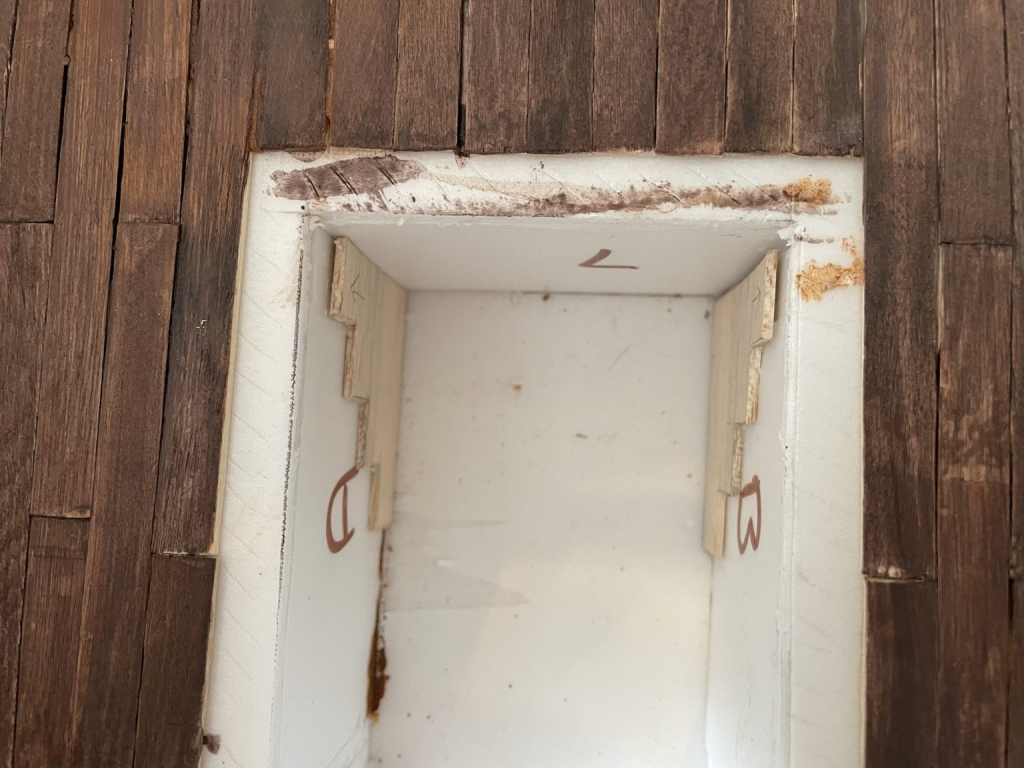
For my Howl’s Moving Castle diorama, I previously built the box that will become the room (see my post history), and as the interior of the castle is on a level up from the door, I needed to make the stairs.
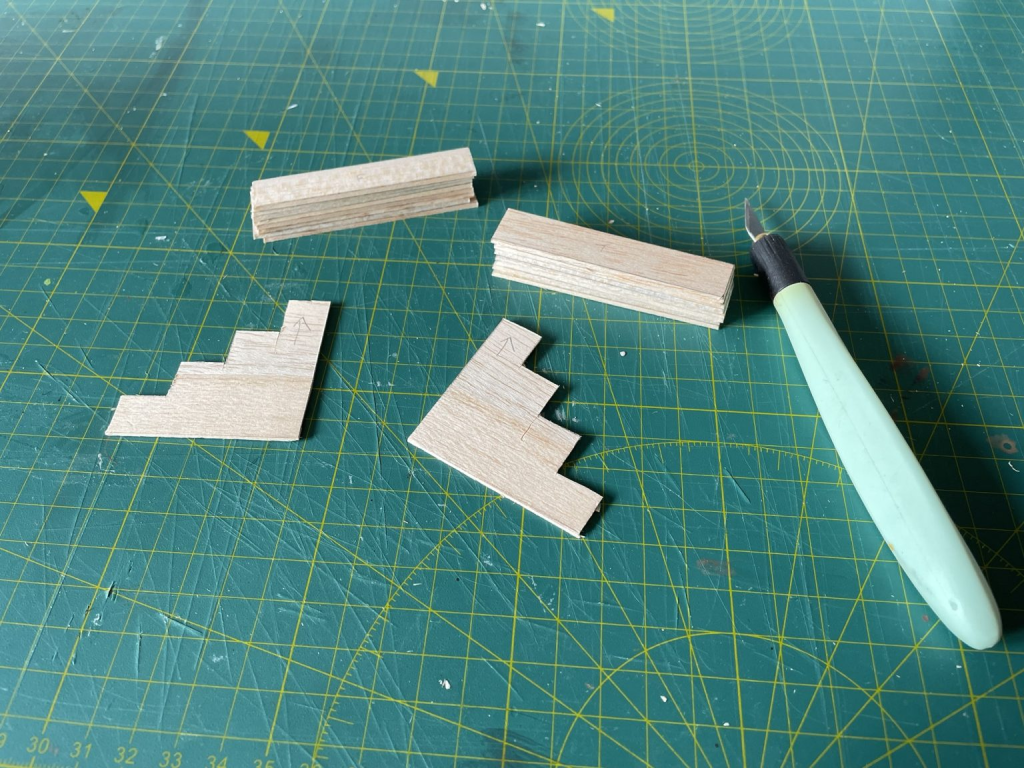
I started out making a plan on my iPad of the pieces that I would need. I’d made stairs before so this was pretty straightforward. You just need the frame which is two pieces for the sides that follow the pattern the stairs will make (left in the image below), and then a series of rectangle pieces which will sit on the frame to make the actual steps.
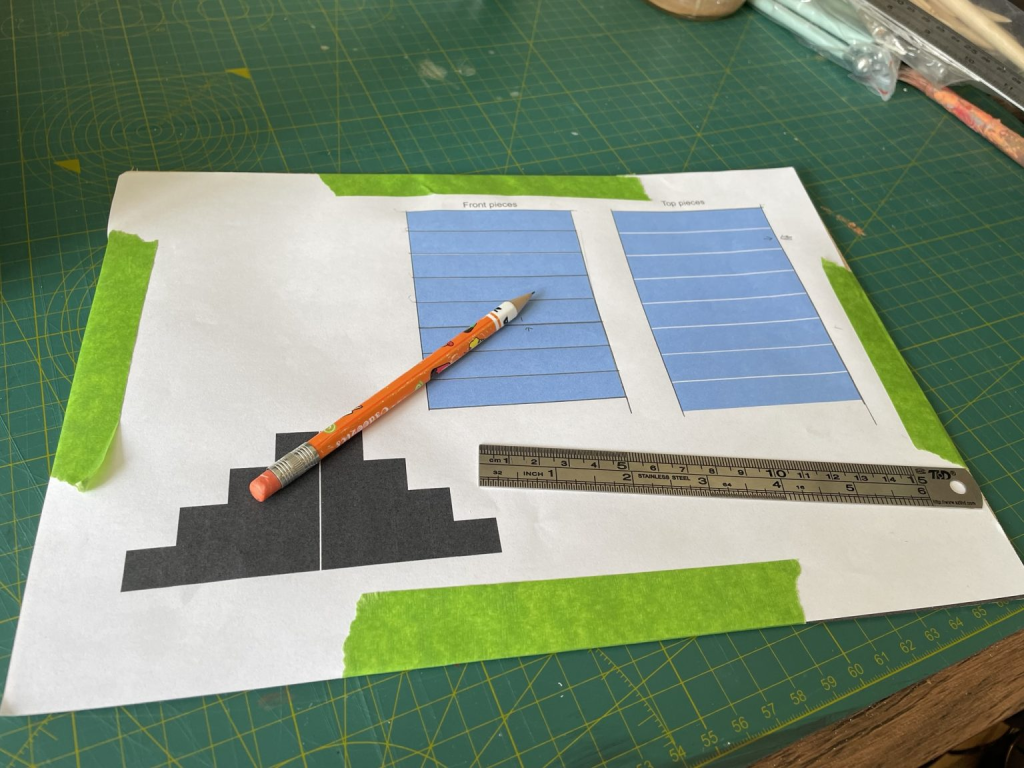
I printed out my template for the pieces and taped it to my balsa wood with a sheet of carbon transfer paper in between. I then traced over my design, which, when I removed the template left me with my pieces drawn onto the wood ready to cut out. For the front and top rectangles I deliberately drew out more than I needed because experience has taught me that it’s easy to mis-cut and it’s a pain to have to draw the template out again if it needs redoing.
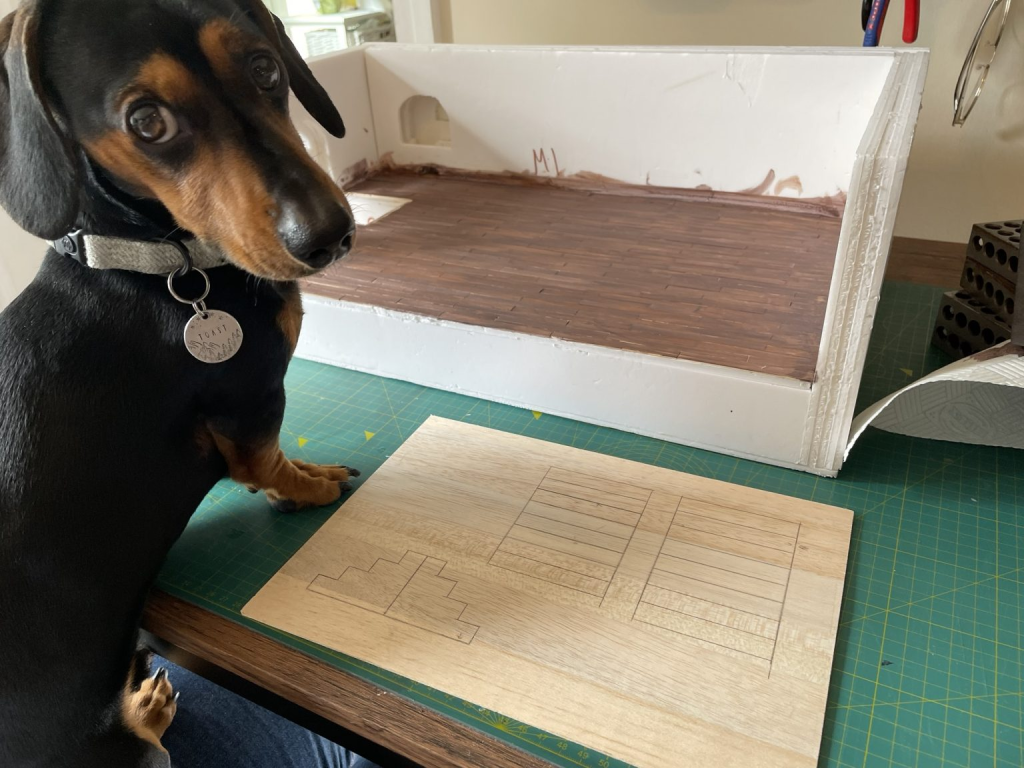
At this point my dog Toast came to help out and proceedings had to be paused.
When my helper decided to get down, I cut out the pieces and was ready to start assembly.
I used tacky removable glue to stick the side pieces in place. I wasn’t really anticipating any challenges here but on the off chance something went wrong I wanted the ability to remove the stairs.
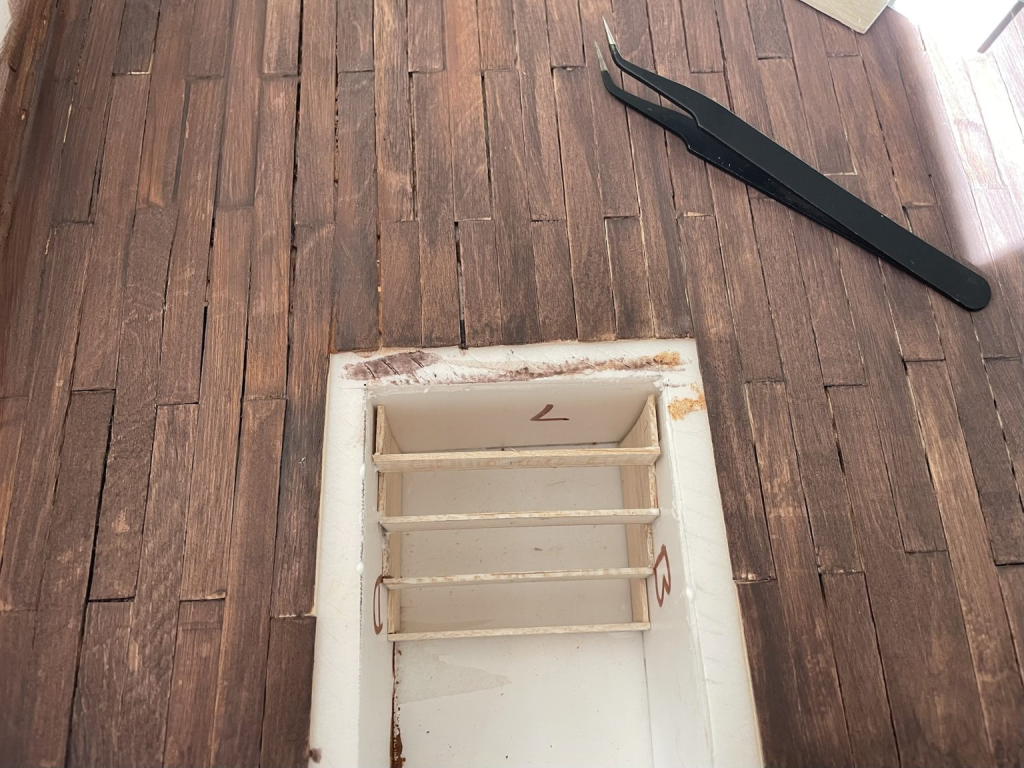
From there I started glueing on the front of the steps. My measurements miraculously seemed right and these pieces fit on pretty perfectly.
I then glued on the tops of the steps. These weren’t quite so good and I did have to shave off a couple of bits that were overhanging by a small amount. I almost didn’t need to bother doing this but knowing that I was going to plaster over the stairs to make them look stone-like I knew that if it wasn’t completely clean it would be difficult for my polyfilla to adhere.
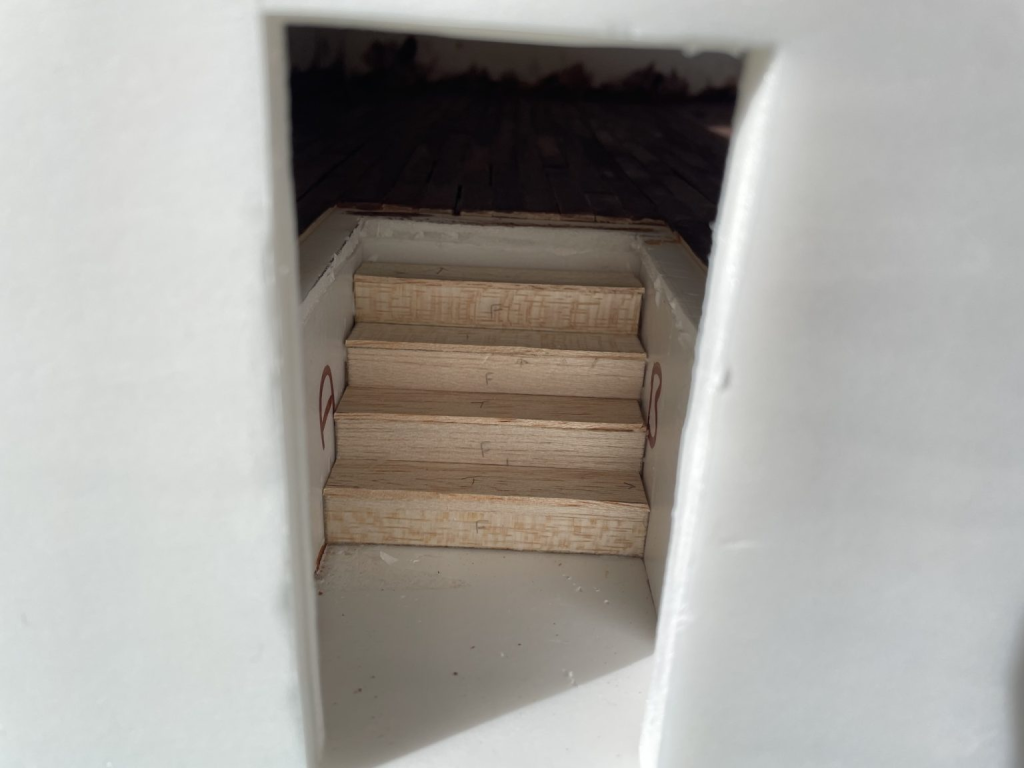
Overall I’m pretty pleased with how these turned out, especially how flush the stairs are to the walls. Looking forward to getting them looking like stone, but there’s quite a few more things I need to do to the rest of the walls before I’m in a position to plaster, so I’ll just have to be patient.