This is the second time I’m building the base for my Howl’s Moving Castle diorama. The first version was fine but as I added furniture I realised I’d missed a part from the reference photo and I didn’t have enough room for everything. So I decided to start again.
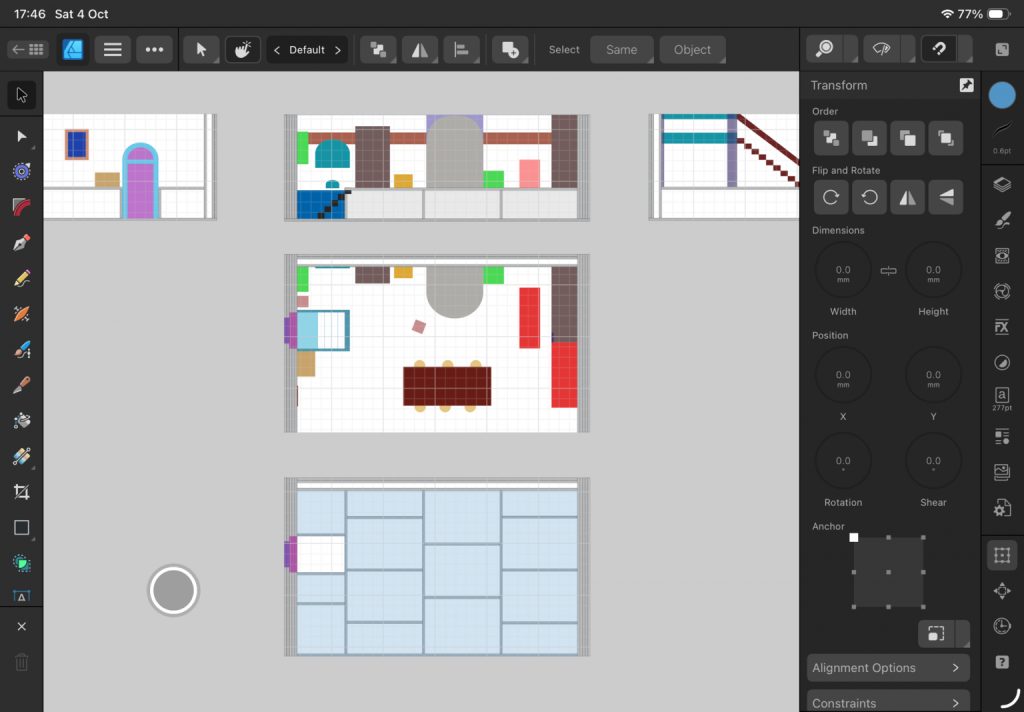
I started by mapping out all of the furniture I wanted to include using Affinity Designer on my iPad, and worked out the dimensions for the box from there. I then planned out all the pieces I would need including the structural supports needed to give it a suspended floor. This took far more time than I thought it would which was annoying because I just wanted to get building.
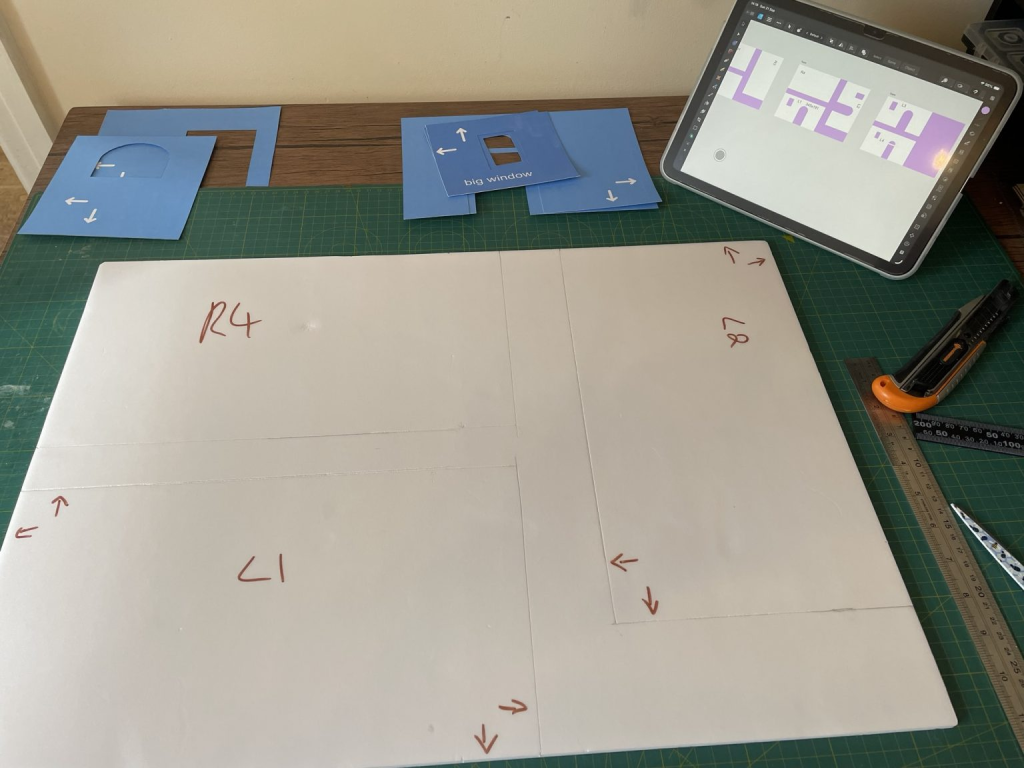
Once I had my base designed, I used my new dimensions to draw out the pieces on foam board. I labelled each piece so I wouldn’t get confused.
This next bit was the most tedious thing, because the first time round I drew all the pieces out (of which there were something like 24 with all the support pieces) and cut them, but my technique wasn’t good and I ended up shredding the edges of half the boards. This foam is the kind with papery backing which is quite sensitive to how you cut it, so I decided I needed to start again.
So I measured all my pieces (which took ages, measuring is hard), cut them all out (RIP my back from bending over the table), only to discover I’d messed up one of the measurements. I’d made a small change to the dimensions the day before but forgot to amend the piece templates so about half my pieces were wrong. So I had to cut them again and finally third time lucky I got all my pieces cut right.
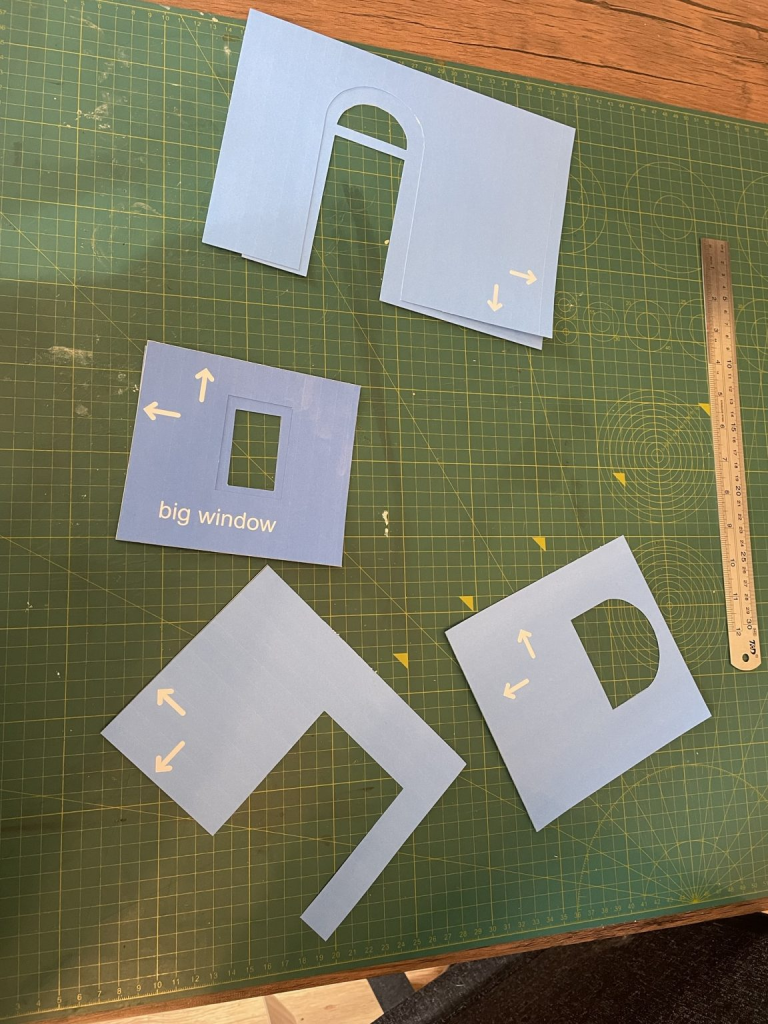
I also created templates for all the doors, windows and arches in the castle that I could use to accurately cut the foam. I used several layers of foam for the sides and back to accommodate the castles thick walls so I needed to make sure the shapes I cut would be the same on all the pieces.
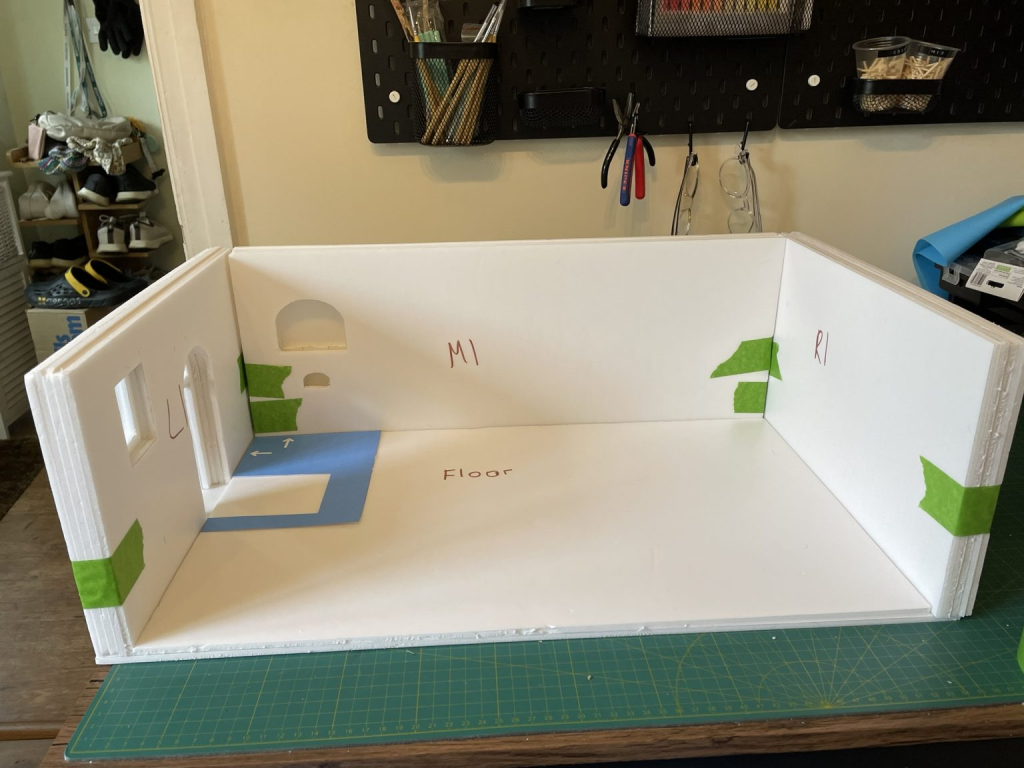
When I had cut all the doors and windows out of my pieces, I tentatively taped all the walls together to check my measurements and make sure it would all fit together.
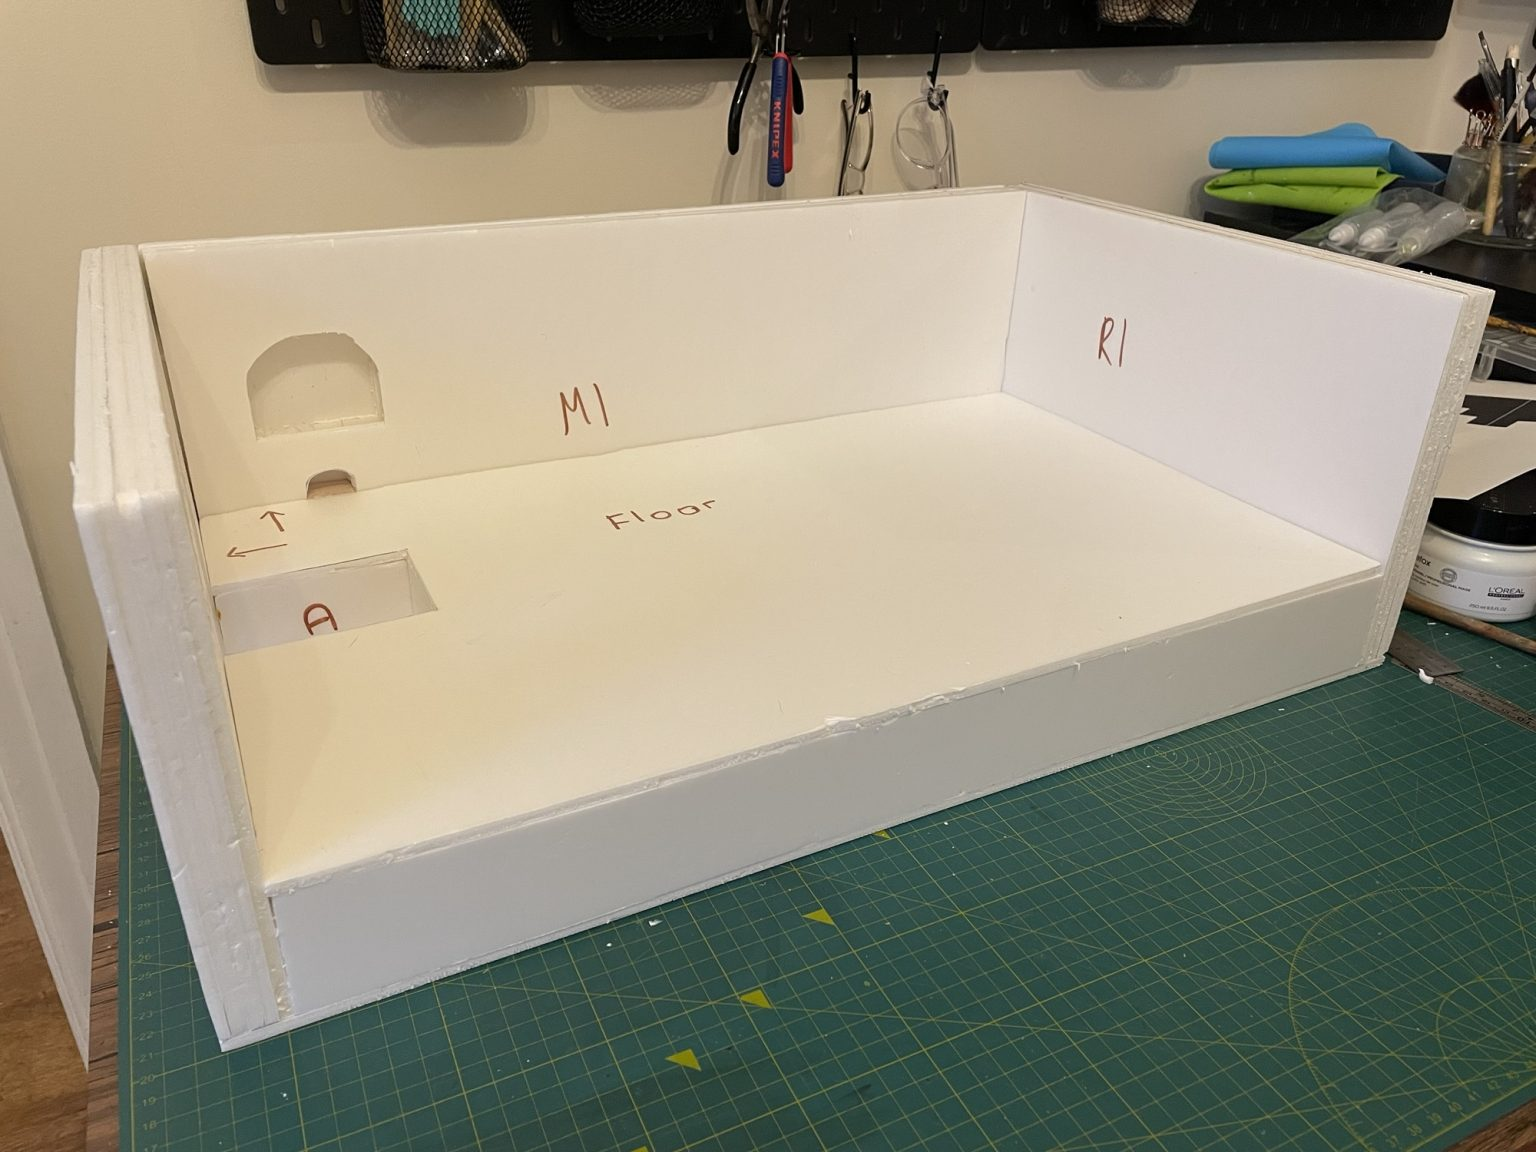
Once I was happy that the walls were okay, I started putting it together for real. Glueing the walls was fairly straightforward thanks to their thickness but the supports for the suspended floor took a bit more time.
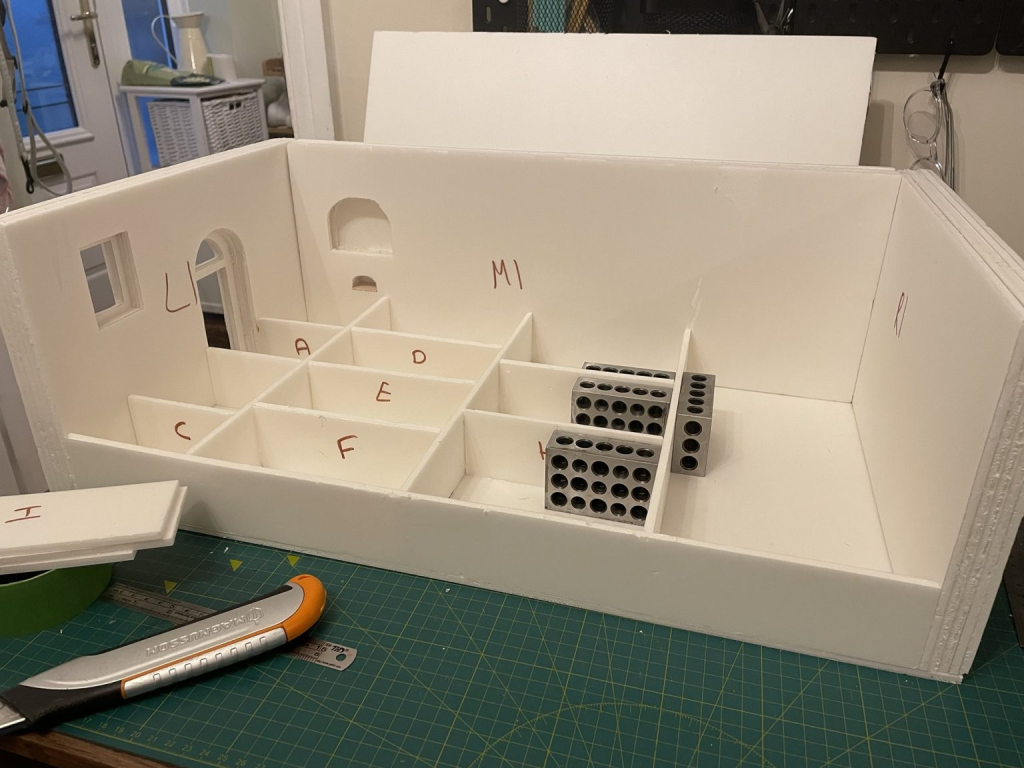
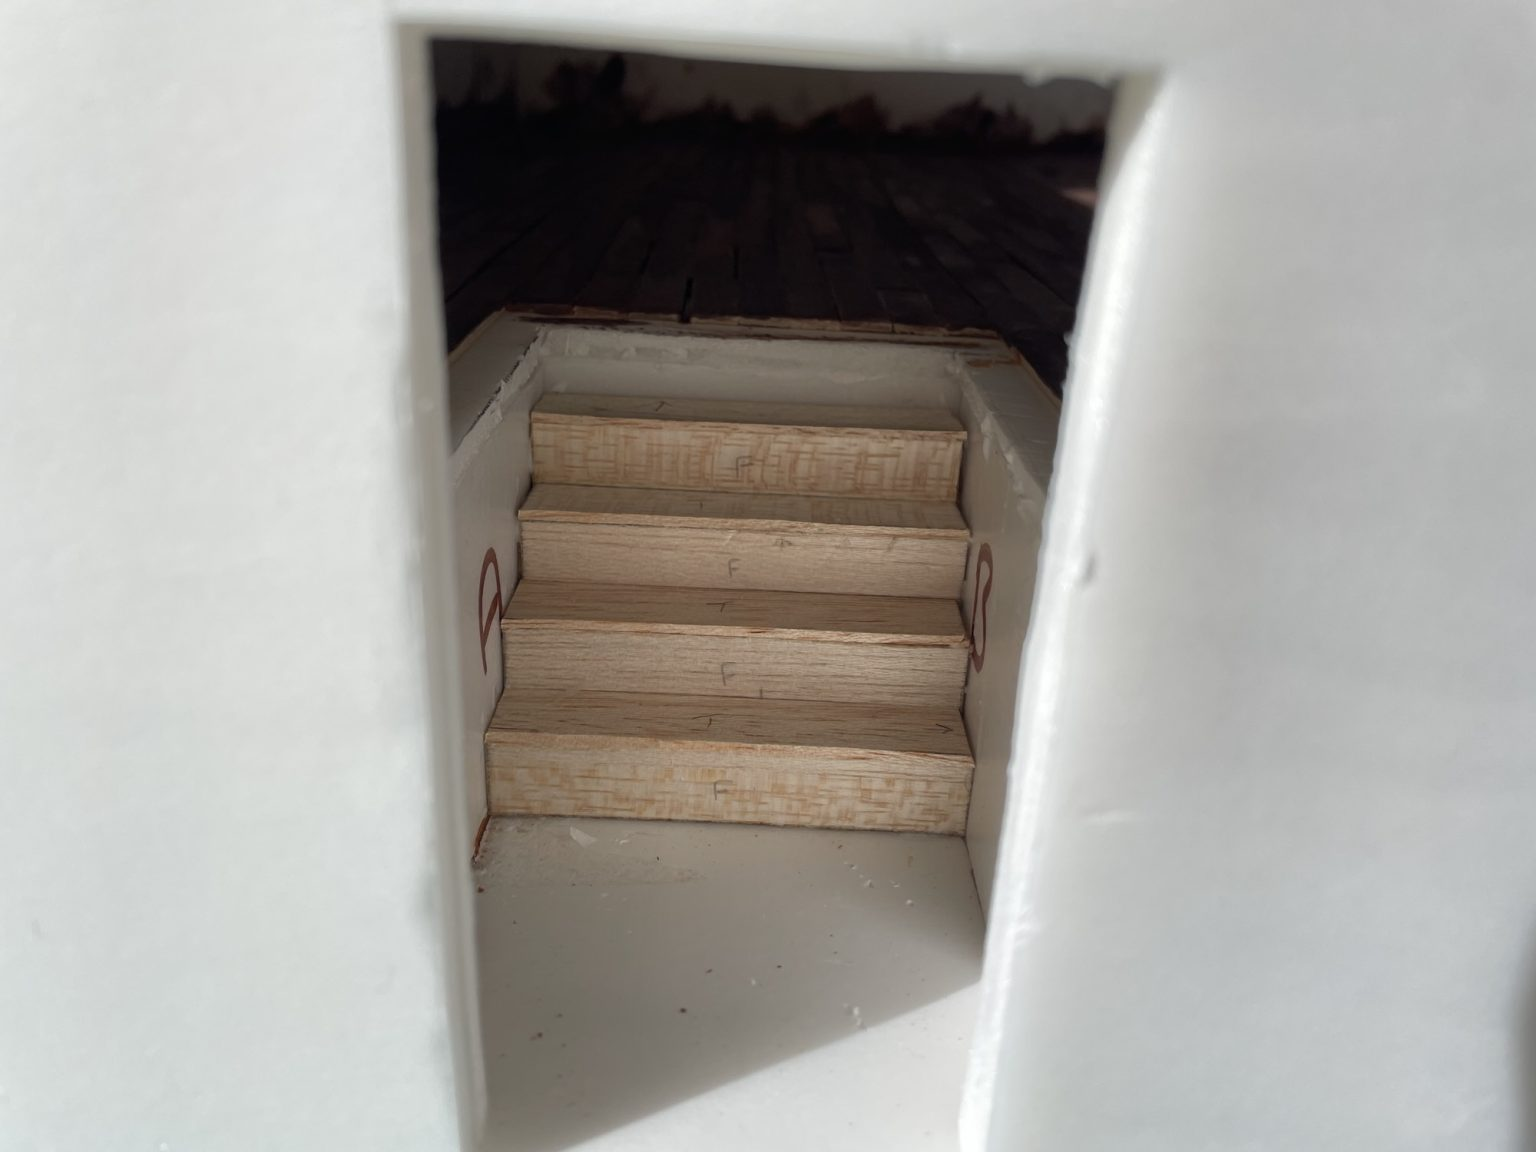
I needed to be extra careful that the hallway section on the bottom (where there will be stairs up to the suspended floor when it’s finished) would line up with the shape I cut for the floor but by regularly placing the floor piece on top to check I was all aligned I managed to get it pretty much perfect.

Finally I got the floor on – miraculously all of it fit together pretty much correctly, the only thing that was a bit wrong was a bit of a gap between the back and left walls due to one of my back pieces being a millimetre too long, but my plan is to use polyfilla to plaster the walls so that gap will be easy to hide.
Building this base took me much longer than I thought it would so I’m quite glad it’s done and I can move onto the next bit. Next up is the staircase up to the suspended floor and then I can add flooring and plastering!